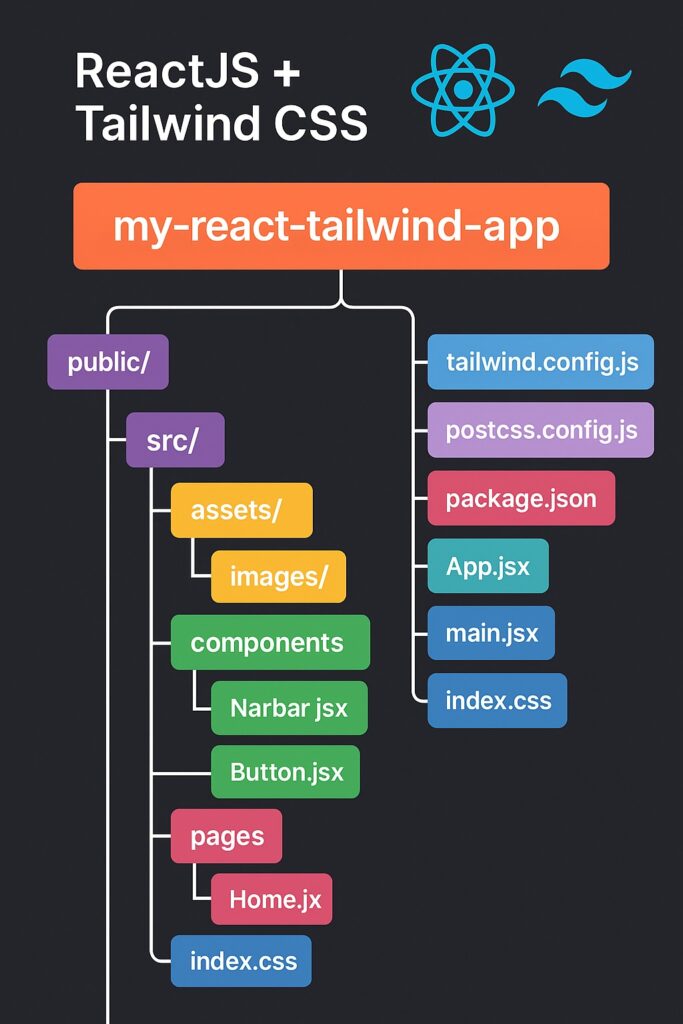
Combining ReactJS with Tailwind CSS gives you the power of fast, utility-first styling in a modern front-end framework. In this guide, we’ll walk through how to integrate Tailwind CSS into a React project, create reusable components, and maintain a clean project structure.
What You’ll Learn
- How to set up Tailwind CSS in a React project
- Ideal project structure for scalable apps
- Building a responsive page with Tailwind utilities
- Creating reusable components
Project Structure
Here’s the layout we’ll use:
my-react-tailwind-app/
│
├── public/
│
├── src/
│   ├── assets/
│   │   └── images/          # Place for static images
│   │
│   ├── components/
│   │   ├── Navbar.jsx
│   │   └── Button.jsx
│   │
│   ├── pages/
│   │   └── Home.jsx
│   │
│   ├── App.jsx
│   ├── main.jsx
│   └── index.css            # Tailwind entry point
│
├── tailwind.config.js
├── postcss.config.js
├── package.json
└── vite.config.js (or CRA config)
Setting Up React + Tailwind CSS
1. Create a React App
With Vite (recommended for performance):
npm create vite@latest my-react-tailwind-app -- --template react
cd my-react-tailwind-app
npm install
Or with Create React App:
npx create-react-app my-react-tailwind-app
cd my-react-tailwind-app
2. Install Tailwind CSS
npm install -D tailwindcss postcss autoprefixer
npx tailwindcss init -p
3. Configure tailwind.config.js
// tailwind.config.js
export default {
  content: [
    "./index.html",
    "./src/**/*.{js,jsx,ts,tsx}",
  ],
  theme: {
    extend: {},
  },
  plugins: [],
}
4. Create and Import Tailwind CSS File
In src/index.css:
@tailwind base;
@tailwind components;
@tailwind utilities;
Then import it in main.jsx:
import React from 'react';
import ReactDOM from 'react-dom/client';
import App from './App.jsx';
import './index.css';

ReactDOM.createRoot(document.getElementById('root')).render(
  <React.StrictMode>
    <App />
  </React.StrictMode>
);
Building the UI with Tailwind CSS
Example: Reusable Button Component
src/components/Button.jsx
const Button = ({ label, onClick }) => {
  return (
    <button
      onClick={onClick}
      className="px-6 py-2 bg-blue-600 text-white rounded-lg hover:bg-blue-700 transition duration-300"
    >
      {label}
    </button>
  );
};

export default Button;
Navbar Component
src/components/Navbar.jsx
const Navbar = () => {
  return (
    <nav className="bg-gray-800 text-white p-4 flex justify-between items-center">
      <h1 className="text-xl font-bold">MyApp</h1>
      <ul className="flex space-x-4">
        <li><a href="#" className="hover:underline">Home</a></li>
        <li><a href="#" className="hover:underline">About</a></li>
      </ul>
    </nav>
  );
};

export default Navbar;
Home Page
src/pages/Home.jsx
import Button from '../components/Button';

const Home = () => {
  return (
    <div className="flex flex-col items-center justify-center h-screen bg-gray-100">
      <h2 className="text-3xl font-bold mb-4">Welcome to Tailwind + React</h2>
      <Button label="Get Started" onClick={() => alert("Clicked!")} />
    </div>
  );
};

export default Home;
App Entry
src/App.jsx
import Navbar from './components/Navbar';
import Home from './pages/Home';

function App() {
  return (
    <>
      <Navbar />
      <Home />
    </>
  );
}

export default App;
Why Use Tailwind CSS with React?
- Rapid styling with minimal custom CSS
- Easily responsive with utility classes
- Reusable components with scoped logic
- Cleaner separation of structure vs. utility logic
Deployment Ready
When you build the app (npm run build), Tailwind’s purge feature removes unused styles automatically based on your HTML and JSX content.
Summary
You now have:
A fully configured React app with Tailwind CSS
Clean project structure with components and pages
A responsive UI using reusable Tailwind-styled components


