Overview
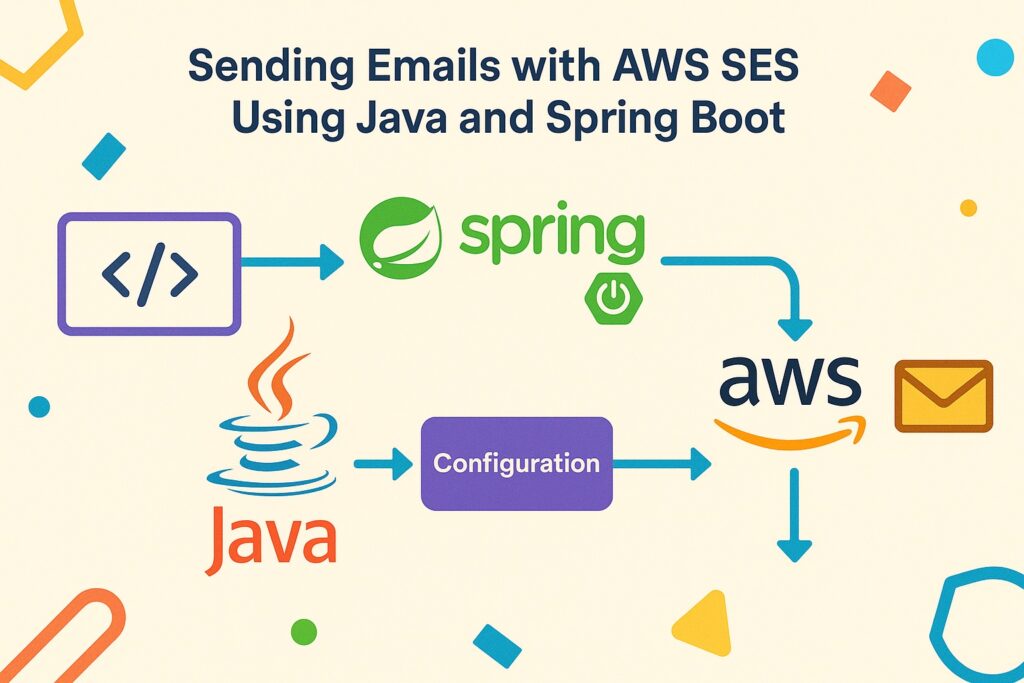
Amazon Simple Email Service (SES) is a cloud-based email sending service designed to help digital marketers and application developers send marketing, notification, and transactional emails.
In this tutorial, you’ll learn how to integrate AWS SES into a Spring Boot application using the AWS SDK for Java v2.
Prerequisites
- Java 17+ or Java 11
- Spring Boot 3.x
- Maven
- AWS Account
- Verified email in AWS SES (Sandbox Mode)
- IAM User with
AmazonSESFullAccess - Region with SES support (e.g.,
us-east-1)
1. Set Up AWS SES
Step 1: Verify Email
If your SES is in sandbox mode, go to:
- AWS Console → SES → Email Addresses → Verify a new email address.
You’ll receive a confirmation email. Click to confirm.
2. Add Dependencies to pom.xml
<dependencies>
    <!-- Spring Boot -->
    <dependency>
        <groupId>org.springframework.boot</groupId>
        <artifactId>spring-boot-starter</artifactId>
    </dependency>

    <!-- AWS SDK SES (v2) -->
    <dependency>
        <groupId>software.amazon.awssdk</groupId>
        <artifactId>ses</artifactId>
    </dependency>

    <!-- AWS SDK Core -->
    <dependency>
        <groupId>software.amazon.awssdk</groupId>
        <artifactId>auth</artifactId>
    </dependency>

    <!-- Lombok (Optional) -->
    <dependency>
        <groupId>org.projectlombok</groupId>
        <artifactId>lombok</artifactId>
        <optional>true</optional>
    </dependency>
</dependencies>3. Configuration in application.yml
aws:
  ses:
    region: us-east-1
    access-key: YOUR_ACCESS_KEY
    secret-key: YOUR_SECRET_KEY
sender: verified.sender@example.comTip: Store credentials securely using AWS credentials file, Spring Vault, or environment variables in production.
4. Create Configuration Class
@Configuration
public class AwsSesConfig {

    @Value("${aws.ses.region}")
    private String region;

    @Value("${aws.ses.access-key}")
    private String accessKey;

    @Value("${aws.ses.secret-key}")
    private String secretKey;

    @Bean
    public SesClient sesClient() {
        AwsBasicCredentials awsCreds = AwsBasicCredentials.create(accessKey, secretKey);

        return SesClient.builder()
                .region(Region.of(region))
                .credentialsProvider(StaticCredentialsProvider.create(awsCreds))
                .build();
    }
}5. Email Service Implementation
@Service
public class EmailService {

    @Value("${aws.ses.sender}")
    private String sender;

    private final SesClient sesClient;

    public EmailService(SesClient sesClient) {
        this.sesClient = sesClient;
    }

    public void sendEmail(String to, String subject, String body) {
        Destination destination = Destination.builder()
                .toAddresses(to)
                .build();

        Content subjectContent = Content.builder()
                .data(subject)
                .charset("UTF-8")
                .build();

        Content bodyContent = Content.builder()
                .data(body)
                .charset("UTF-8")
                .build();

        Body emailBody = Body.builder()
                .text(bodyContent)
                .build();

        Message message = Message.builder()
                .subject(subjectContent)
                .body(emailBody)
                .build();

        SendEmailRequest request = SendEmailRequest.builder()
                .source(sender)
                .destination(destination)
                .message(message)
                .build();

        try {
            sesClient.sendEmail(request);
            System.out.println("Email sent successfully to " + to);
        } catch (SesException e) {
            System.err.println("Email failed: " + e.awsErrorDetails().errorMessage());
        }
    }
}6. REST Controller to Test
@RestController
@RequestMapping("/api/email")
public class EmailController {

    private final EmailService emailService;

    public EmailController(EmailService emailService) {
        this.emailService = emailService;
    }

    @PostMapping("/send")
    public ResponseEntity<String> sendEmail(@RequestBody EmailRequest request) {
        emailService.sendEmail(request.getTo(), request.getSubject(), request.getBody());
        return ResponseEntity.ok("Email sent to " + request.getTo());
    }
}DTO
@Data
@NoArgsConstructor
@AllArgsConstructor
public class EmailRequest {
    private String to;
    private String subject;
    private String body;
}7. Test the API
Use Postman or curl:
POST http://localhost:8080/api/email/send
Content-Type: application/json

{
  "to": "recipient@example.com",
  "subject": "Hello from Spring Boot + SES",
  "body": "This is a test email using AWS SES and Spring Boot."
}8. Notes on Production
- Switch SES from sandbox to production to send to any recipient.
- Use environment variables or AWS IAM roles for credentials in production.
- Implement HTML emails using
Body.builder().html(...).
Summary
You now have a full working Spring Boot service that can send emails using AWS SES. Here’s a quick checklist:
| Step | Description |
|---|---|
| Verify Email | Needed in sandbox |
| Set up IAM and SDK | Secure access |
| Inject SES Client | Spring-managed AWS SDK |
| Email Service | Build and send the message |
| REST Endpoint | Simple API to trigger email send |
Sample Project Structure
src/
├── config/
│   └── AwsSesConfig.java
├── controller/
│   └── EmailController.java
├── dto/
│   └── EmailRequest.java
├── service/
│   └── EmailService.java
├── resources/
│   └── application.yml


